Steps to Create a Cognitive Services APIs account in the Azure portal Setting details
Setting details
Step 1:- First we need to create an azure account (free of cost|trial of 30 days), which i’m sure you can sign up for from here.
Once you created your account, sign into it from http://portal.azure.com/.
It’ll look somewhat like this:-
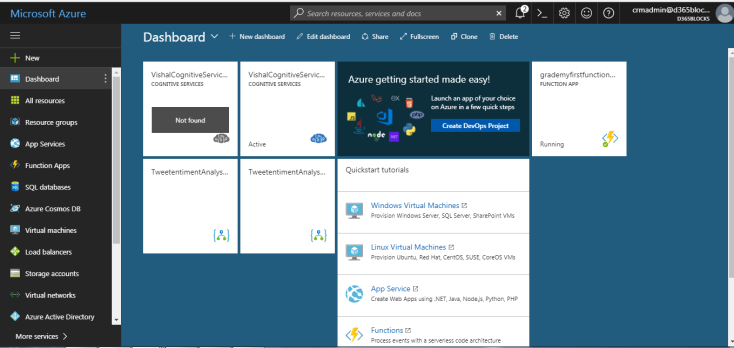
Step 2:- Click new and search “cognitive services”

Click Create

Step 3:- Select details as below:
Select pricing tier as free(1st one)
Select Resource group as “create new” or select use existing if you already have one and click create.
Step 4:- Once created, it’ll be visible under all resources. Click on it to open it:

Step 5:- Copy API url and key details of your API


In above 5 steps, your azure cognitive service api setup is completed.
Copied url and accountid/key will be used going forward in creating a connection to azure cognitive service.


No comments:
Post a Comment