Export and Import Solution from one environment to another using Continuous Integration and Deployment using visual Studio Team Services
Prerequisites:
1.Dynamics crm source and Destination environment.
2.Visual Studio Online Account.
3.Dynamics 365 Build Tools by Wael Hamze(written in powershell scripts to import and export the solution)
Steps to Follow
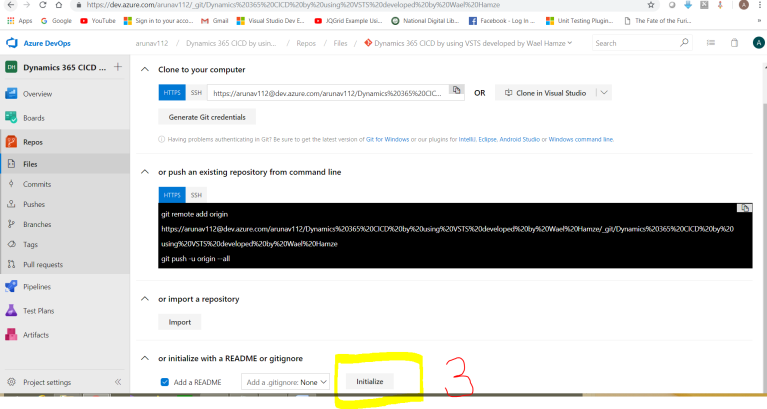
1.Create a project or repository in VSTS online(now known as Azure Devops).

2.Click on the Repos.

REPORT THIS AD
3.Click on Initialize.
4.Create Build Definition.It will export the Dynamics 365 solution from the Source Environment.


5.Create a empty job and click on the + button and add the task according to the order mentioned

Provide CRM Connection String


6.Provide solution name to export even you can mention whether you need to export solution as managed or unmanaged. Generally for Best practices the solution should be exported as Managed.
7.Test the Build Defintion whether solution is exported from the source environment or not.


REPORT THIS AD


Here Description.zip is the solution name which will be exported from source and stored in artifacts ie drop folder
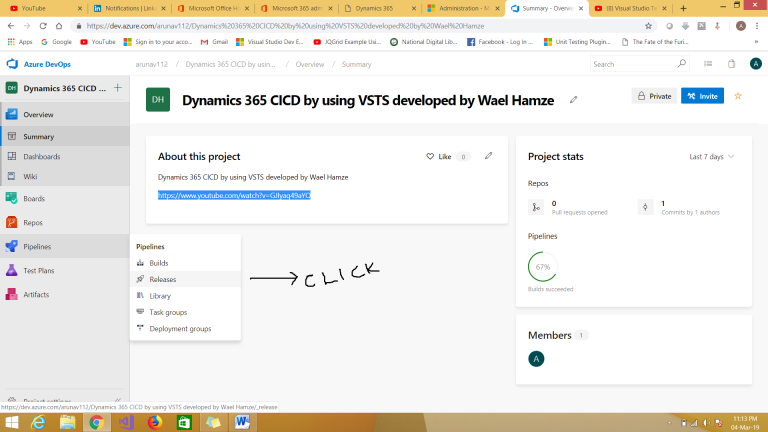
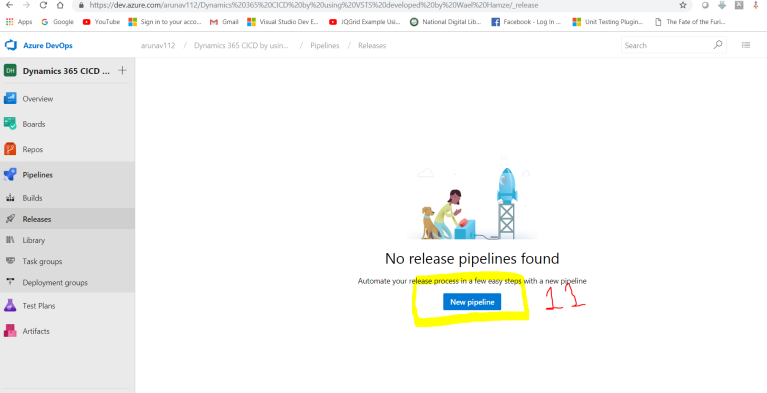
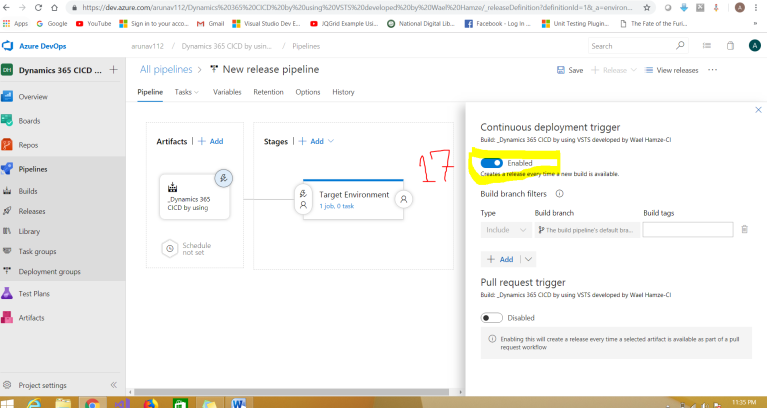
8.Create Release Definition
Here we will need the artifact from the build definition


Click Add


Click Add


Click Ok
Add another Task ie Publish Customization as given below:

Click Save
- Test the operation
Go to build and click on queue after build is successful go to release

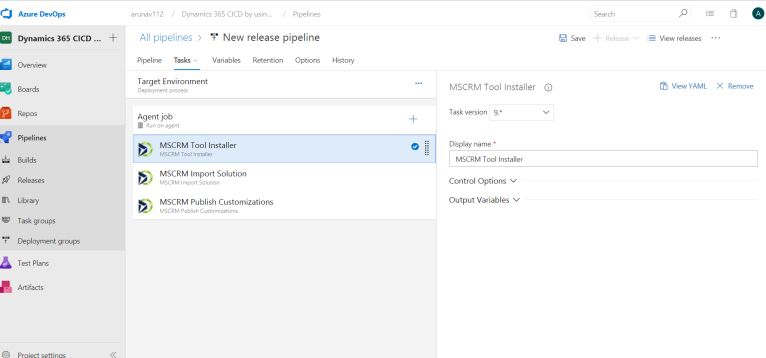
Build will be Unsuccessful because I have not added Ms crm Tool so go to release -> Tasks and add the task at the top as mentioned in the screenshot and save it
Go and do the testing again ie go to build and click on queue


Click on Queue and go to the current build which is in progress

After Build is Successful as given below go to Release


REPORT THIS AD
Click On Blue Icon ie Target Environment


Go to the Target Environment

Source Solution is imported Successfully into the Target Environment.


No comments:
Post a Comment